Animator Controller
An Animator Controller allows you to arrange and maintain a set of Animation Clips and associated Animation TransitionsAllows a state machine to switch or blend from one animation state to another. Transitions define how long a blend between states should take, and the conditions that activate them. More info
See in Glossary for a character or object. In most cases it is normal to have multiple animations and switch between them when certain game conditions occur. For example, you could switch from a walk Animation ClipAnimation data that can be used for animated characters or simple animations. It is a simple “unit” piece of motion, such as (one specific instance of) “Idle”, “Walk” or “Run”. More info
See in Glossary to a jump Animation Clip whenever the spacebar is pressed. However even if you only have a single Animation Clip you still need to place it into an Animator Controller to use it on a GameObjectThe fundamental object in Unity scenes, which can represent characters, props, scenery, cameras, waypoints, and more. A GameObject’s functionality is defined by the Components attached to it. More info
See in Glossary.
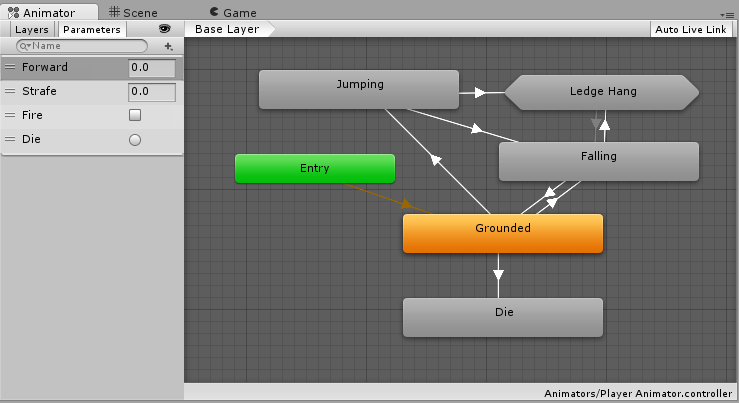
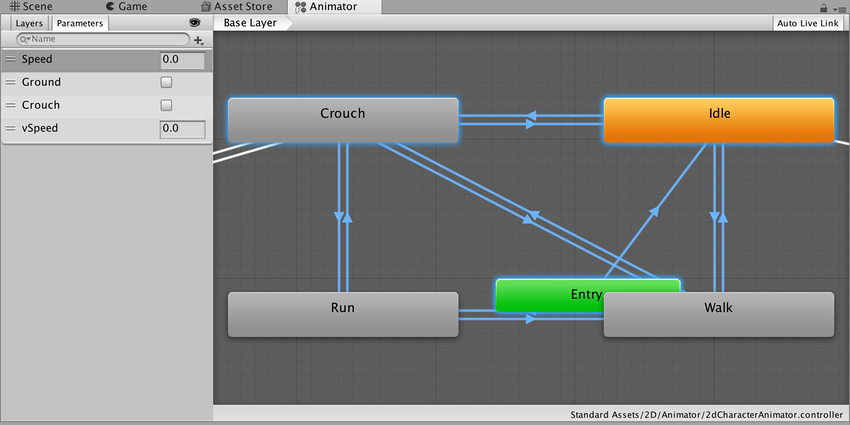
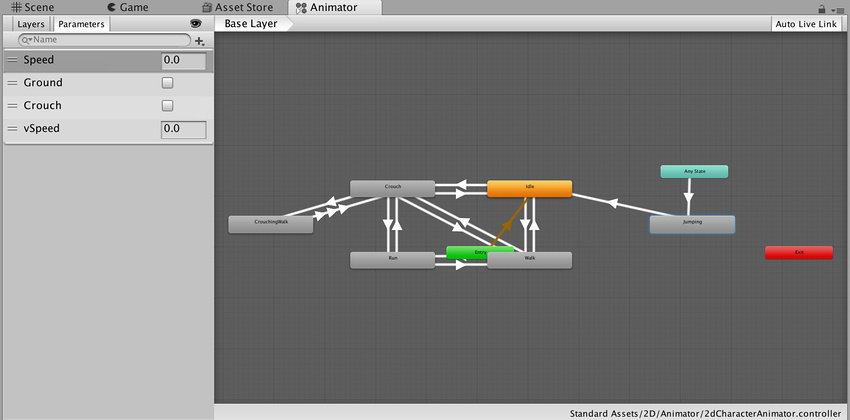
The Animator Controller has references to the Animation clips used within it, and manages the various Animation Clips and the Transitions between them using a State MachineThe set of states in an Animator Controller that a character or animated GameObject can be in, along with a set of transitions between those states and a variable to remember the current state. The states available will depend on the type of gameplay, but typical states include things like idling, walking, running and jumping. More info
See in Glossary, which could be thought of as a flow-chart of Animation Clips and Transitions, or a simple program written in a visual programming language within Unity. More information about state machines can be found here.

Unity automatically creates an Animator Controller when you begin animating a GameObject using the Animation Window, or when you attach an Animation Clip to a GameObject.
To manually create an Animator Controller, right click the Project window and click Create > Animator Controller.
Navigation
Use the scroll wheel on your mouse, or equivalent, to zoom in and out of the Animator Controller window.
To focus on an item in the Animator Controller window, select one or multiple states (click or drag a selection box around the states you wish to select), then press the F key to zoom in on the selection.

Press the A key to fit all of the animation states into the Animator Controller view.
Unity preserves your selection. Press the A and F keys to switch between your selected animation states and the entire Animator Controller.

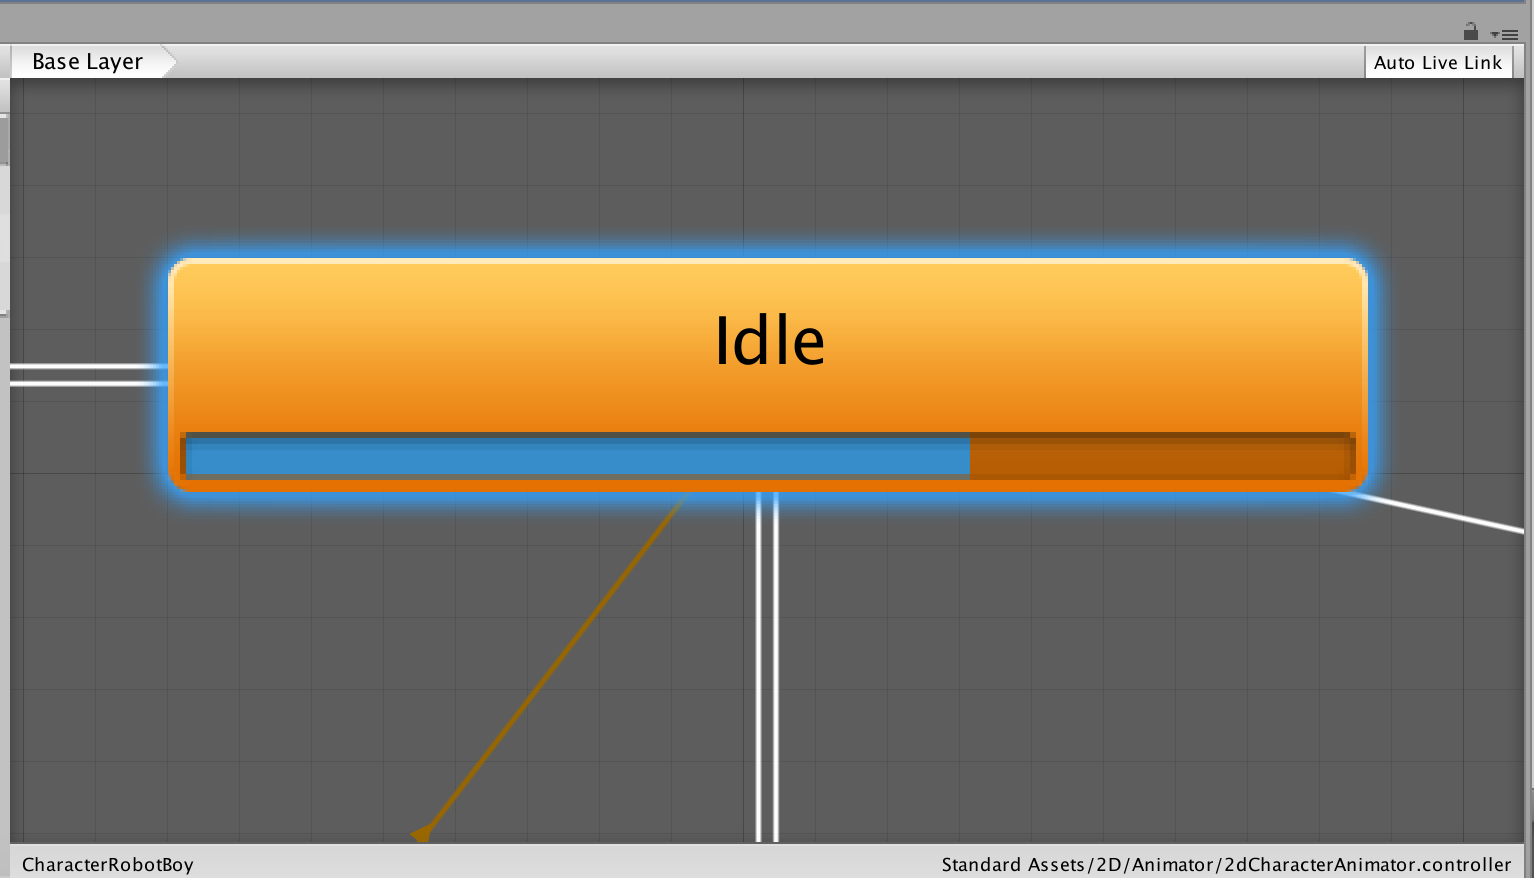
During Play Mode, the Animator pans the view so that the current state being played is always visible. The Animator Controller respects the independent zoom factors of the Base Layer and Sub-State Machine, and the window pans automatically to ensure visibility of the active state or states.
To modify the zoom during Play Mode, follow these steps:
- Enable Auto Live Link in the Animator Controller window
- Click the Play button to enter Play Mode
- Click Pause
- In the Animator Controller, select the state or states you want to zoom into
- Press the F key to zoom into the selection
- Click the Play button again to resume Play Mode
Note that the Animator Controller pans to each state when it activates.

2017–11–21 Page published
Animator zoom added in 2017.3 NewIn20173
Did you find this page useful? Please give it a rating: